

How To Create A Distribution Group In Outlook 2013
How to edit contact group/distribution list in Outlook?
In many cases, you need to reedit the contact group which you have created before, such as add some new contacts to this group or remove some contacts from it. With this tutorial, you can easily learn how to edit contact group or distribution list in Outlook.
Edit contact group or distribution list in Outlook:
- Add members to a contact group in Outlook
- Remove members from a contact group in Outlook
- Split a contact group in Outlook
- Dismiss members from a contact group in Outlook
Add members to a contact group in Outlook
You can easily add members to a contact group in Outlook as follows:
1. Shift to the People view by clicking the People icon in the Navigation Pane.
2. Open the folder containing the specified contact group, and then double click the contact group to open it.
3. In the Contact Group window, please click Contact Group > Add Members, and select an option as you need in the popping drop-down menu.
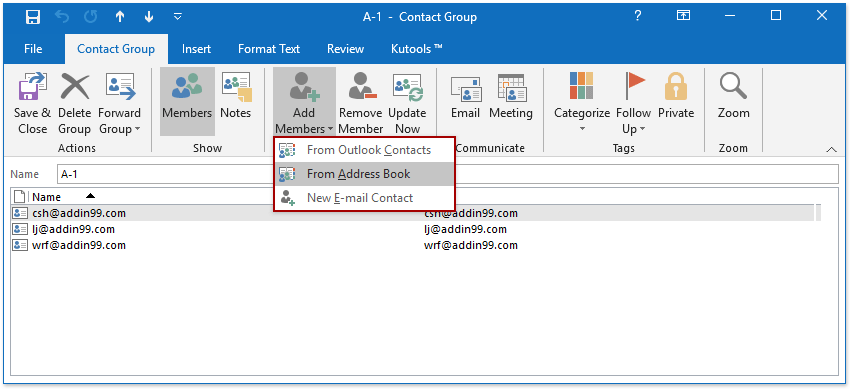
A . If you select From Outlook Contacts or From Address Book from the drop-down menu, it will open the Select Members dialog. In the dialog, please select a folder from the Address Book drop-down list, select one or multiple contacts, click the Members button, and finally click the OK button. See screenshot:

B . If you select New E-mail Contact from the drop-down menu, the Add New Member dialog will come out. In the dialog, please type in the display name, email address as you need, and click the OK button. See screenshot:

4. After adding new members, please click Contact Group > Save & Close to save the changes and close the window.

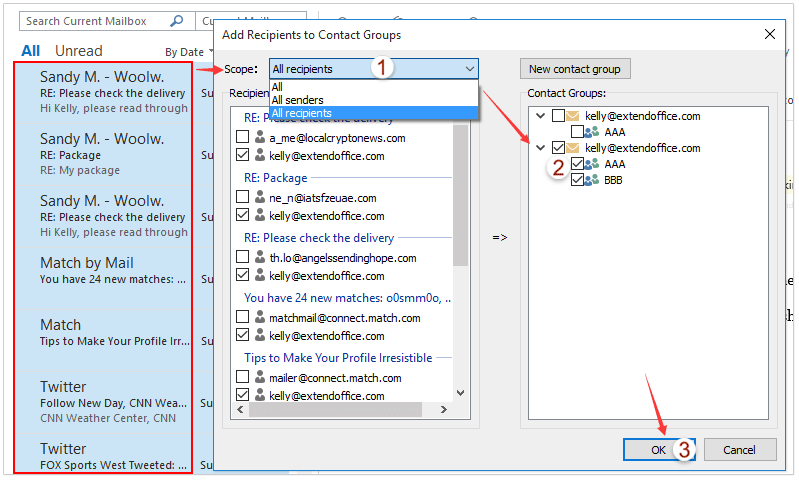
Tip: Easily add contact group members from emails' senders or recipients in Outlook
Normally, we can copy a sender or a recipient from an email, and then add it as a contact group member with Add Members > From Address Book, and it seems no way to add multiple emails' multiple senders or recipients into a contact group in bulk. But, with the excellent Add to Groups feature of Kutools for Outlook, you can easily add multiple emails' senders or recipients into contacts groups in Outlook with several clicks only. Click for 60-day free trial without limitation!
Remove members from a contact group in Outlook
Please follow below steps to remove members from a contact group in Outlook.
1. Shift to the People view by clicking the People icon in the Navigation Pane.
2. Open the folder containing the specified contact group, and then double click the contact group to open it.
3. In the Contact Group window, select one or multiple members you will remove, and click Contact Group > Remove Member.
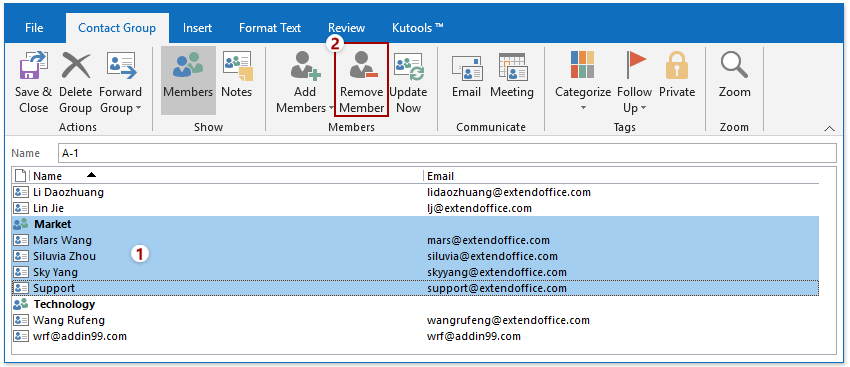
4. Then the specified members are deleted. Go ahead to click Contact Group > Save & Close to save the changes and close the window.
Split a contact group in Outlook
If there is a big contact group with multiple members in Outlook and you want to split it to two contact groups, you can apply the Split to Contact Group feature of Kutools for Outlook to get it done.
Kutools for Outlook: Add more than 100 handy tools for Outlook, free to try with no limitation in 60 days. Read More Free Trial Now
1. Shift to the People view by clicking the People icon in the Navigation Pane.
2. Select the contact group you will split, and click Kutools Plus > Contact Group > Split to contact group.

3. In the Split to contact group dialog, tick the members you will split to a new contact group, and click the Ok button.

4. In the popping out New Contact Group dialog, name the new contact group, and click the OK button.

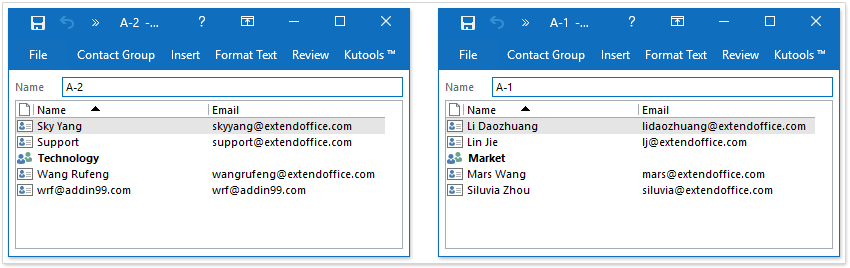
Now you will see the specified contact group has been split, and the ticked members are moved to a new contact group. See screenshot:
Dismiss members from a contact group in Outlook
If you want to break a contact group and save every member as an individual contact in Outlook, you can apply the Break (Contact Group) feature of Kutools for Outlook to achieve it.
Kutools for Outlook: Add more than 100 handy tools for Outlook, free to try with no limitation in 60 days. Read More Free Trial Now
1. Shift to the People view by clicking the People icon in the Navigation Pane.
2. Select the contact group you will split, and click Kutools Plus > Contact Group > Break.

2. In the Break dialog, please click All button to check all members, and then click the Ok button.
Tips: If you want to dismiss some members only, please manually check these members as you need.

Now all checked members are dismissed from the contact group, and saved as individual contacts. See screenshot:

Related articles:
Kutools for Outlook - Brings 100 Advanced Features to Outlook, and Make Work Much Easier!
- Auto CC/BCC by rules when sending email; Auto Forward Multiple Emails by custom; Auto Reply without exchange server, and more automatic features...
- BCC Warning - show message when you try to reply all if your mail address is in the BCC list; Remind When Missing Attachments, and more remind features...
- Reply (All) With All Attachments in the mail conversation; Reply Many Emails in seconds; Auto Add Greeting when reply; Add Date into subject...
- Attachment Tools: Manage All Attachments in All Mails, Auto Detach, Compress All, Rename All, Save All... Quick Report, Count Selected Mails...
- Powerful Junk Emails by custom; Remove Duplicate Mails and Contacts... Enable you to do smarter, faster and better in Outlook.


How To Create A Distribution Group In Outlook 2013
Source: https://www.extendoffice.com/documents/outlook/1668-outlook-edit-contact-group-distribution-list.html
Posted by: leclaircamigat.blogspot.com
0 Response to "How To Create A Distribution Group In Outlook 2013"
Post a Comment